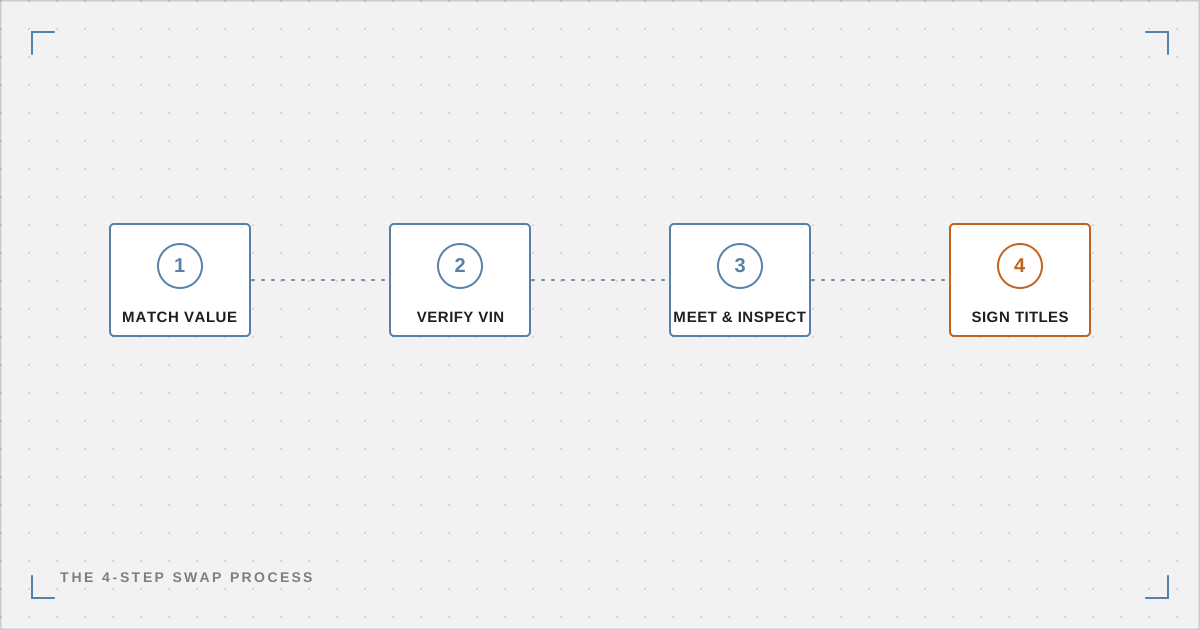
Car swapping replaces the traditional two-step friction of selling your existing car and then separately shopping for a replacement with a single, streamlined transaction. Here is exactly what happens at each stage, from matching to driving away in your "new" vehicle.
The Old Way vs. The Swap Way
Selling and then buying separately means two rounds of listing, negotiating, and paperwork — and a gap in between where you might have no car at all. A direct swap collapses that into one coordinated exchange: both owners agree on relative value, meet once, and leave with each other's vehicle. Neither side has to front cash for a full purchase; only the value difference, if any, changes hands.
Step 1 — List and Get Matched by Value
Register your current vehicle with its VIN, mileage, and condition, then browse or get matched with owners whose vehicles sit in a similar fair-market-value range. On XchangeCar, listings are paired by verified value bands so you aren't wasting time on trades that are wildly lopsided from the start.
Step 2 — Verify the VIN and Vehicle History
Before agreeing to anything, decode both VINs through NHTSA's free vPIC tool to confirm the make, model, and factory specs match what's advertised, check for open safety recalls, and pull a title-history report to rule out undisclosed salvage or flood brands. Our full VIN verification guide walks through each check in order.
Step 3 — Agree on Any Cash Equalization
Pull private-party values for both vehicles from at least two sources (Kelley Blue Book and Edmunds are the standard pair) and agree on a cash amount to bridge any gap. See our fair-trade valuation guide for the full formula and a worked example.
Step 4 — Meet at a Safe Exchange Zone and Inspect Both Vehicles
Meet in daylight at a public, ideally camera-monitored location — many local police departments designate "safe exchange zones" in their parking lots specifically for transactions like this. Walk around both cars, check panel gaps and fluid levels, and take each vehicle for a short test drive before anything is signed.
Step 5 — Complete Title Paperwork
Both owners sign the seller section of their own title and the buyer section of the other party's title, complete a bill of sale for each vehicle (or one combined document), and fill out the federally required odometer disclosure. Photograph the odometer, VIN plate, and any existing damage on both vehicles before you separate — it protects both of you if a dispute comes up later.
Step 6 — Each Owner Registers Their "New" Vehicle
From here, the process is identical to any private-party purchase: bring the signed title, bill of sale, ID, and proof of insurance to your state DMV or tag agency, pay any sales tax and title/registration fees due, and get your new plates or transfer your existing ones, depending on your state's rules.
How Long Does the Whole Process Take?
The meet-and-sign portion is typically a single appointment of an hour or two. After that, each owner has their state's standard registration window to make it official — commonly 15 to 30 days, though it varies by state, so check your local DMV's deadline to avoid a late fee.
Common Mistakes to Avoid
- Skipping the VIN and history check because the other owner "seems trustworthy" — verify anyway.
- No written bill of sale. A handshake deal leaves you with no record of the agreed value if a tax office or insurer questions it later.
- Not settling a lien first. A title still tied to a lender's name legally cannot be signed over.
- Forgetting sales tax. Most states tax the vehicle you receive at its fair market value, not just the cash difference — budget for it before you agree to a deal. See our state-by-state tax guide.
- Meeting somewhere private. A driveway or empty lot with no cameras is avoidable risk for no real benefit.